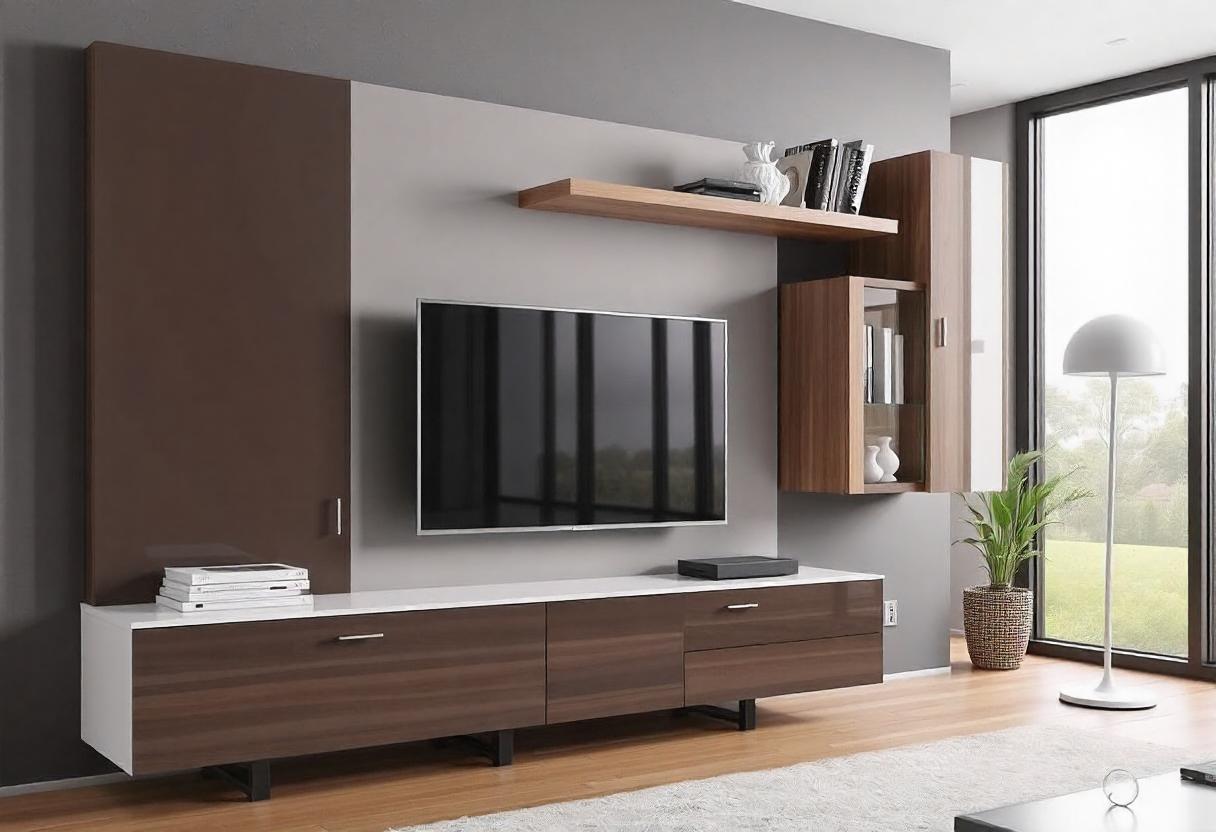
In recent years, wall-mounted TV units have become increasingly popular due to their sleek appearance and space-saving benefits. Unlike traditional TV stands or cabinets, wall-mounted units offer a modern, minimalist look and can help maximize your room’s floor space. If you’re considering installing a wall-mounted TV unit, this comprehensive guide will walk you through the process, ensuring a secure and stylish setup.
1. Planning and Preparation
a. Assess Your Wall Type
Before you start, it’s crucial to determine what type of wall you’re working with. TV units require a sturdy wall to ensure safety and stability. Here are the common wall types:
- Drywall: Most homes have drywall, which is often not strong enough to support a heavy TV on its own. You’ll need to find the studs behind the drywall to anchor the mount.
- Concrete or Brick: These walls are generally more robust and can support heavier weights. Special anchors or masonry drills might be needed.
- Plaster: Similar to drywall, plaster walls require locating the studs for secure mounting.
b. Gather Tools and Materials
To install a wall-mounted TV unit, you’ll need the following tools and materials:
- Stud finder (for locating studs in drywall)
- Level
- Tape measure
- Drill and drill bits
- Screwdriver
- TV wall mount bracket (ensure it matches your TV size and weight)
- Screws and anchors (appropriate for your wall type)
- Cable management system (optional but recommended for a clean look)
c. Choose the Right Mount
TV wall mounts come in various styles, including fixed, tilting, and full-motion. Consider the following:
- Fixed Mount: Holds the TV flush against the wall. Ideal for optimal viewing at a specific height.
- Tilting Mount: Allows you to tilt the TV downward for better viewing angles.
- Full-Motion Mount: Offers the most flexibility, allowing the TV to be extended, swiveled, and tilted.
Ensure the mount you choose supports the size and weight of your TV. Check the VESA (Video Electronics Standards Association) pattern, which indicates the distance between mounting holes on the back of your TV.
2. Locate and Mark the Mounting Points
a. Find the Studs
Using a stud finder, locate the studs behind the drywall. Mark the edges of the studs with a pencil. This will help you drill into the center of the studs for the most secure hold. If you’re mounting on a concrete or brick wall, you may skip this step, but ensure your anchors are suitable for the wall type.
b. Measure and Mark
Measure the height at which you want to mount the TV. The ideal height is usually at eye level when seated. Use a level to ensure your marks are even. If you’re installing a tilting or full-motion mount, consider the range of motion and ensure it fits within the space you have.
c. Drill the Holes
Drill holes at the marked points on the wall. If you’re using a drywall anchor, ensure the holes are slightly larger than the anchor size. For concrete or brick walls, use a masonry drill bit and hammer in appropriate anchors.
3. Install the Wall Mount Bracket
a. Attach the Bracket to the Wall
Position the wall mount bracket on the wall and align it with the drilled holes. Use a level to ensure it is straight. Secure the bracket using screws or bolts, depending on the wall type. If using anchors, insert them first before screwing in the bracket. Tighten the screws with a screwdriver or drill.
b. Attach the TV Brackets
Most TV mounts come with separate brackets that attach to the back of the TV. Follow the manufacturer’s instructions to secure these brackets. Make sure they are tightly fastened and aligned with the VESA pattern on your TV.
4. Mount the TV
a. Lift and Secure the TV
With the help of a friend or family member, carefully lift the TV and align it with the wall mount bracket. If you’re using a full-motion mount, ensure you follow the specific instructions for attaching the TV. Secure the TV to the mount by locking it into place. Check that the TV is level and adjust if necessary.
b. Check Stability
Once the TV is mounted, gently test its stability by giving it a slight push. Ensure it is firmly secured and does not wobble. If you notice any issues, double-check the mounting screws and brackets.
5. Cable Management and Final Touches
a. Organize Cables
To maintain a clean look, use a cable management system to hide and organize cables. This can be done using cable covers or raceways that can be painted to match your wall. Route the cables through the management system, ensuring they are not strained or pinched.
b. Adjust Viewing Angles
If you have a tilting or full-motion mount, adjust the TV to your preferred viewing angle. Make sure it remains securely in place and check that there is no obstruction to the TV’s movement.
c. Clean Up
Finally, clean the area around your TV and wall mount. Remove any dust or debris from the installation process and check that all tools and materials are put away.
6. Troubleshooting Common Issues
a. TV Mount Wobbles
If the TV mount wobbles, ensure that all screws and bolts are tightened securely. Check that the wall anchors or studs are properly installed.
b. Uneven Mount
If the TV appears uneven, use a level to realign the mount. You may need to adjust the bracket or reposition the screws.
c. Difficulty in Adjusting Angles
If you have a tilting or full-motion mount and it’s difficult to adjust, ensure that all locking mechanisms are released and that the mount is installed correctly.
7. Safety Considerations
a. Weight Limit
Always adhere to the weight limit specified by the mount manufacturer. Overloading the mount can cause damage to your wall and TV.
b. Professional Help
If you’re unsure about any part of the installation process, consider hiring a professional. An expert can ensure the installation is done correctly and safely.
Conclusion
Installing a wall-mounted TV unit can enhance your living space with a modern look while freeing up floor space. By following these steps, you can achieve a secure and aesthetically pleasing setup. Remember to carefully plan, use the correct tools and materials, and address any issues promptly. With a bit of patience and attention to detail, you’ll enjoy the benefits of your wall-mounted TV unit for years to come